When Your DIY Is Cursed: Fixing a Tennis Ball Carrier
Some garage days fight back. A simple wooden tennis ball can carrier turned into a full-on tool gauntlet—jigsaw breakdown, drill press drama, and a bowed board to top it off.
What you’ll get: practical fixes for tool mishaps, safer alternatives mid-project, and build notes to avoid repeat chaos.
Start simple, measure once, mark clean
- Treat the carrier as a layout problem first. Mark centerlines and hole centers before any cutting.
- If your can is roughly 3 1/8” diameter, space your centers for even gaps (he used about 3/4” between canisters and 1/2” margins). Accuracy here saves ugly corrections later.
When the jigsaw quits, pivot the method
- The Milwaukee M12 jigsaw’s base failed mid-build. Instead of forcing it, switch to a hole saw for perfect circles and finish straight cuts with a circular saw or hand saw.
- If a jigsaw’s bevel clamp is stripped, locking it to 0° permanently is a workable repair—but not mid-project.
Drill press scare? Grab the handheld drill
- A hole saw on the drill press can bind and whip stock if feed rate, clamping, or setup isn’t dialed. If it chatters or screams, stop immediately.
- A handheld drill with a hole saw worked smoothly here. Clamp the work, pilot first, and clear chips often to prevent grab.
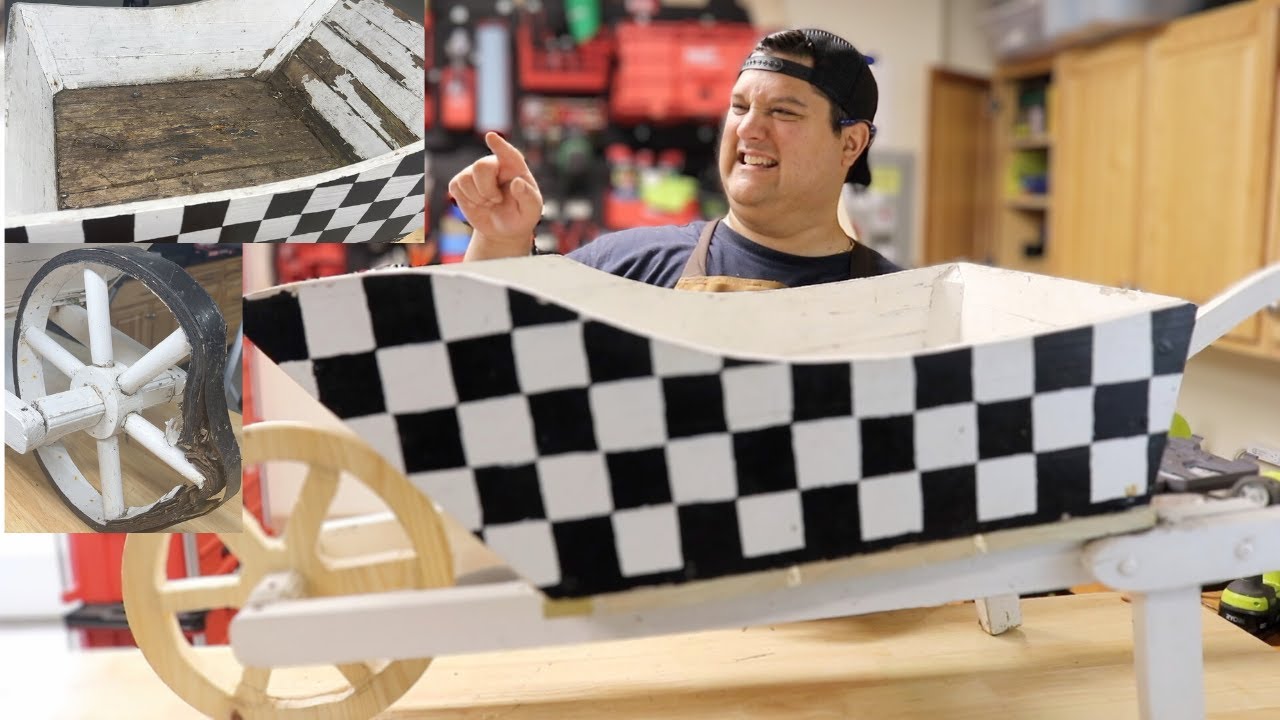
Assembly lessons from bowed stock
- Bowed fence picket? Expect fit-up fights. Dry-fit the handle and sides before you pin anything.
- If you forget the assembly order, back up: remove a side, seat the handle, then reattach. Countersink your screws for a clean finish and no snags.
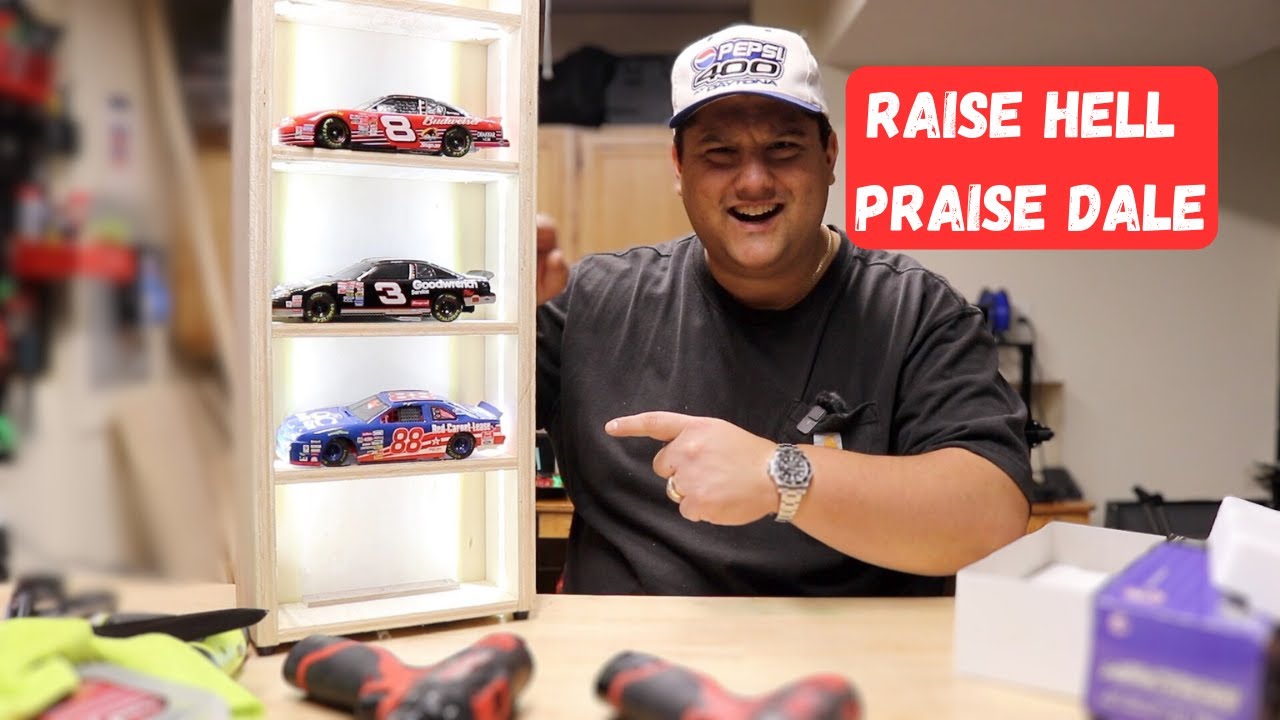
Final takeaway
Hiccups don’t kill a build—refusing to adapt does. Measure clean, clamp everything, and keep backup methods ready. The carrier turned out sweet, and the shop time was the real win.