Restoring a $3 Ice Scraper That Was in Two Pieces
A cracked, rusty ice scraper won’t clear a frosty windshield—or survive winter. This quick rehab brings a simple tool back to life using basic cleanup and a single new fastener.
What you’ll get: a clean, sharp, repainted scraper that’s ready for daily winter use.
Tools & Materials
Disclosure: Some links may be affiliate links. I try to list tools and materials used or discussed in the project, with search links when an exact item is not available.
Assess and prep
If the scraper is in two pieces, confirm the fracture is at the fastener. Remove the old screw, align the halves, and check the holes are clean and concentric. Wipe off grime so you can see what rust you’re dealing with before you start.
Rust removal without overgrinding
Use the Milwaukee die grinder for the heavy rust on metal areas. Keep the tool moving to avoid gouges and heat buildup. Switch to the Dremel for tight spots and detail edges where control matters. Stop as soon as clean metal appears; taking more material weakens the tool.
Fresh paint where it counts
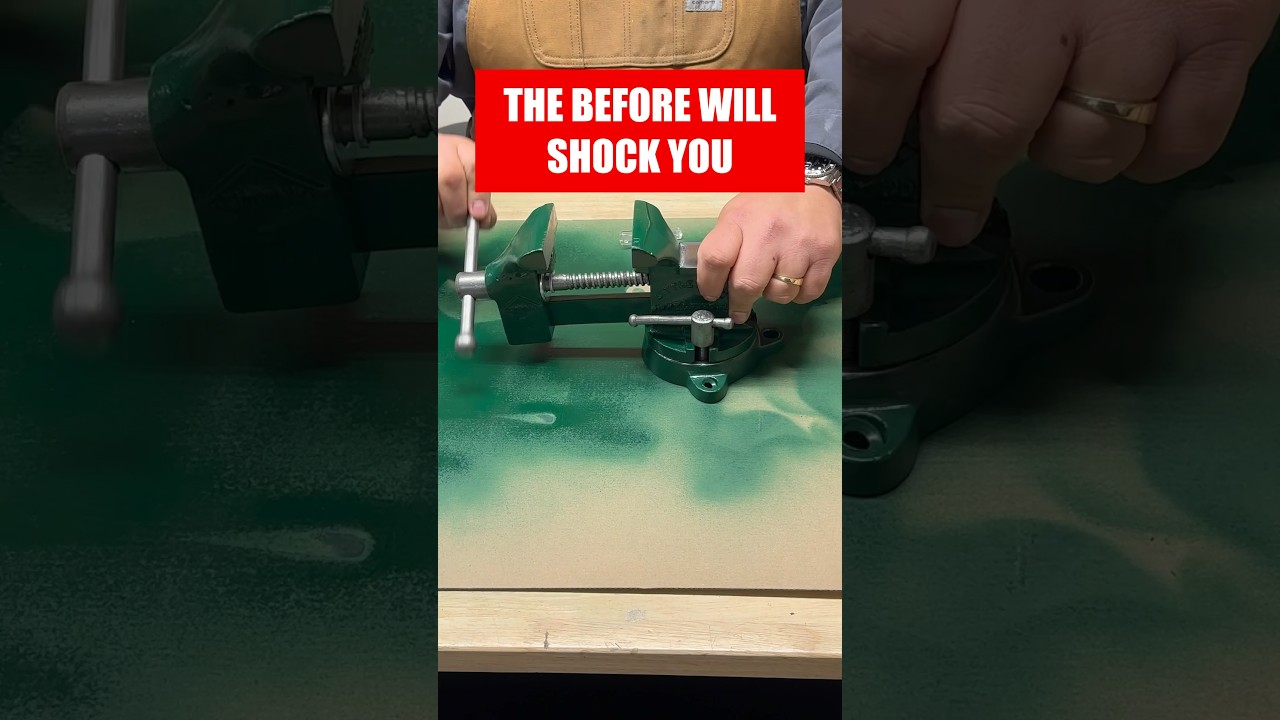
After bare metal is exposed, dust off debris and lay a light coat of black paint. Thin, even passes beat one heavy coat; you want coverage without filling edges. Let it flash off fully so the finish hardens before reassembly.
Edge touch-up and solid reassembly
Lightly polish the scraping edge to restore a crisp, flat contact surface—aim for straight, not razor sharp. Rejoin the halves with a stainless steel screw to prevent future corrosion at the joint. Snug it down; over-torquing can crack the body or strip threads.
Quick checks before first use
Confirm the edge is even across its width and that the screw sits flush. Give the paint a final cure window, then test on a smooth surface to ensure no burrs catch. If it chatters, refine the edge with a few gentle passes.
A simple cleanup, a touch of paint, and one stainless fastener turn a $3 garage sale find into a dependable winter tool. Simple tool, simple fix—back to work.